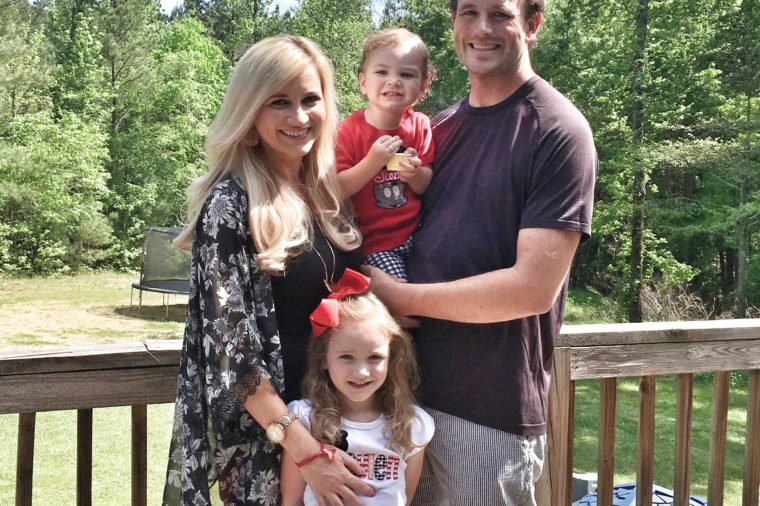
Shortly after we celebrated Braylens sixth birthday (just two short weeks, to be exact), we celebrated Judson's second birthday. Having two April birthdays makes for a busy month. I initially wanted to do a big joint party, but when Braylen played the Chuck'E'Cheese's card, I decided to have a low-key family party at the house for Judson. Since our Disney trip, Judson has been obsessed with Mickey Mouse, so it seemed like the perfect theme. Plus, they already had a whole Disney wardrobe so he didn't even need a birthday shirt. I'm not sure how I feel about low key parties, I'm sad that we aren't putting together a big production and ironing out all the details in the days leading … [Read more...]
celebrating braylen, zoo style
We had a big weekend celebrating BK's fourth birthday. When I looked ahead to her birthday, I saw that I had penciled in a "37" on the Thursday before. Meaning, I would be 37 weeks and 3 days pregnant on the day she would turn 4. I wasn't sure what we would do, but I was sure that I didn't want to take on a huge party at the house, even though parties at our house will always be my favorite kind. In January, we decided on a zoo party and she changed her mind a million times. But, when you've already paid a big fat deposit there is no going back. Luckily, she was just fine with that and when things started to come together, and she saw her adorable invitations, she was ecstatic about the … [Read more...]
showering baby boy
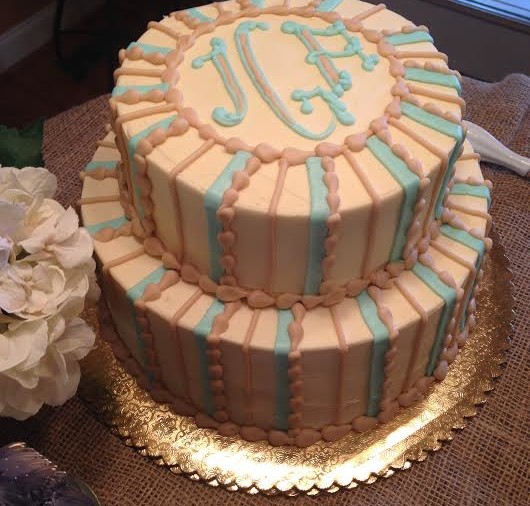
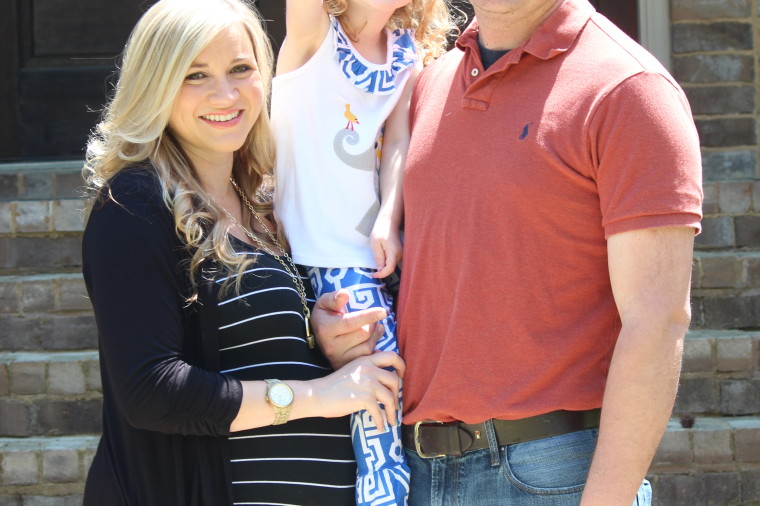
I had a beautiful baby shower this past Saturday to celebrate our sweet baby boy. The countdown is on around here, and we're less than three weeks away from his scheduled arrival date. It seems like a million years in some ways, but I know I'll blink and be getting my things ready to check into the hospital. I love how fun and intimate this shower was, it was at my house and I invited my closest friends and family. It was nice to be able to sit and talk, to catch up and laugh with everyone who came. The food was delicious and the cake tasted just as good as it looks in the pictures. I'm going to incorporate this thumbprint tree in the nursery after I let all of of our visitors … [Read more...]